


To replace your Glock’s trigger spring assembly, you’ll need a punch set, hammer, and bench block. Start by completely unloading your firearm and verifying it’s clear. Remove the slide, then carefully punch out the frame pins in sequence to access the trigger assembly. Install the new spring assembly, ensuring proper alignment and tension. Reassemble in reverse order, then perform function testing to verify smooth operation. Proper understanding of each component and step will ensure a successful installation.
Key Takeaways
- Completely unload the firearm and verify the chamber is clear by performing multiple safety checks before beginning any work.
- Remove pins in sequence: locking block pin first, trigger pin second, and trigger housing pin last while tracking their order.
- Position the spring coils evenly with legs properly seated in designated channels, maintaining equal tension on both sides.
- Reassemble carefully while preventing spring twisting, ensuring the trigger bar properly engages with the connector and safety mechanisms.
- Test functionality through dry-fire cycles, verify smooth trigger movement, and confirm proper reset before conducting live-fire testing.
Essential Tools and Safety Preparations
Before beginning any work on your Glock’s trigger spring assembly, you’ll need to gather the proper tools and establish a safe working environment. Start by collecting a long punch or hex wrench, hammer, and bench block, which are essential for this procedure.
Your first safety step is to completely unload your firearm. Double-check the chamber and magazine well to ensure no ammunition is present. Once you’ve confirmed it’s clear, pull the slide back to verify visually.
Next, prepare your workspace by setting up your bench block, which will support the frame when you’re removing the trigger housing components. Position your tools within easy reach, and ensure you have adequate lighting to see the small parts clearly. Remember to work methodically and maintain awareness of all components during disassembly.
Understanding Your Glock Trigger Components
You’ll need to familiarize yourself with your Glock’s trigger assembly, which consists of the trigger, trigger bar, connector, and various springs working together to create a consistent pull. Each component serves a specific purpose: the trigger and bar initiate the firing sequence, while the connector regulates pull weight and staging through its interaction with the trigger bar.
The components must be assembled in a precise order, with the trigger spring installed first, followed by the trigger bar attachment, and the connector secured last for proper function.
Main Parts Overview
Understanding the main components of your Glock trigger assembly is essential before attempting any spring replacement work. Your trigger and trigger bar form the core mechanism, representing the most critical and expensive components. The connector works in conjunction with these parts to regulate pull weight and staging characteristics.
- Your trigger bar must move freely and smoothly for proper function
- The connector choice affects both trigger weight and reset characteristics
- Factory springs provide reliable operation for self-defense applications
- Aftermarket components from reputable manufacturers can enhance performance
- Over-modification of springs can compromise reliability and safety
When considering modifications, remember that while aftermarket options from companies like CMC, Apex, and Zev can improve performance, the factory Glock trigger setup remains perfectly suitable for defensive use. Focus on maintaining proper function rather than excessive modifications.
Function Of Each Component
Now that you’re familiar with the main parts, let’s examine how each component works together in your Glock’s trigger system. The trigger and trigger bar act as the primary interface, converting your finger pressure into mechanical movement. When you pull the trigger, the trigger bar moves back, engaging with the connector.
The connector plays a crucial role in determining how your trigger feels, as it controls both the weight and staging of the pull. Your trigger spring provides the necessary tension for reset, while working in concert with the firing pin safety spring and striker spring to ensure proper function. All these components must be compatible with your specific Glock model and generation to maintain reliability and safety standards.
Understanding these relationships helps you make informed decisions when considering replacements or modifications.
Assembly Order Breakdown
Before beginning the trigger assembly process, familiarizing yourself with the correct order of component installation is critical for your Glock pistol. When working with your specific model and generation, like a Gen 4 Glock 19 with a Zev Tech pro flat-face trigger, you’ll need to ensure all components align properly with the trigger pin placement.
- Always verify trigger compatibility with your specific Glock model and generation
- Double-check that your trigger pin aligns with the locking block pin configuration
- Confirm all three main pins (locking block, trigger, and trigger housing) are present
- Ensure trigger spring assembly matches your pistol’s generation specifications
- Layout components in order of installation before beginning the replacement process
The assembly sequence matters significantly for proper Glock trigger function and safety. Each component must be installed in its designated order to maintain reliable operation.
Frame Disassembly Steps
To begin disassembling your Glock frame, you’ll need to work with three critical pins: the locking block pin, trigger pin, and trigger housing pin. Make sure you’ve identified your Glock’s model and generation correctly, as trigger compatibility varies, particularly with Gen 5 models.
Start by pushing out the locking block pin located above the trigger. Next, remove the grooved trigger pin while gently wiggling the slide stop to help with extraction. Finally, carefully extract the polymer trigger housing pin at the rear of the grip. Handle this polymer pin with extra care to prevent damage.
Before proceeding with any replacements, double-check that your new trigger components are compatible with your specific Glock generation, as many triggers work with both Gen 3 and Gen 4, but not Gen 5.
Trigger Group Removal Process

Once you’ve successfully removed all three frame pins, grip the trigger assembly firmly and lift it straight up and out of the frame. When installing a new trigger, ensure it’s specifically compatible with your Glock model and generation, as fitment varies between versions. The trigger group removal process requires careful attention to pin order and proper handling.
Remove the locking block pin first, located above the trigger. Extract the trigger pin second, which may require additional force. Remove the trigger housing pin last, positioned at the rear of the grip.
Check your new trigger’s compatibility with both model and generation. Keep track of all removed pins in order of disassembly.
The trigger group’s removal allows for proper inspection, cleaning, and replacement of worn components. Handle all parts with care to maintain proper function and safety.
Spring Assembly Installation Techniques
When installing your Glock’s trigger spring assembly, you’ll need to carefully align the spring coils while maintaining proper tension throughout the installation process. You must position the spring’s legs correctly against their contact points and verify the spring sits flat without binding or twisting.
After installation, you’ll need to test the spring’s function by cycling the trigger mechanism several times to confirm smooth operation and appropriate resistance.
Proper Spring Tension Setup
Setting the correct spring tension during Glock trigger spring assembly installation requires careful attention to alignment and positioning. You’ll need to ensure the spring coils are properly seated without any binding or twisting that could affect trigger function. Don’t pull the trigger until you’ve verified proper spring tension through visual inspection and physical testing.
Confirm the spring legs are seated firmly in their designated channels. Check that spring tension is equal on both sides of the trigger bar. Verify the spring isn’t twisted or kinked during installation. Test the spring’s resistance by manually moving the trigger bar. Ensure all safety mechanisms engage properly with the new spring tension.
If you encounter uneven resistance or binding, remove and reinstall the spring assembly, paying close attention to proper orientation and seating.
Spring Alignment Techniques
Proper alignment of the Glock trigger spring assembly builds upon correct tension setup and requires methodical positioning techniques. When installing the spring, you’ll need to maintain consistent upward pressure while avoiding side to side movement that could compromise alignment.
| Alignment Step | Critical Check |
|---|---|
| Initial Position | Center spring coils |
| Vertical Setup | Maintain 90° angle |
| Coil Spacing | Equal distribution |
| Leg Orientation | Forward-facing hooks |
| Final Check | No binding points |
Ensure the spring’s legs sit properly in their designated channels. You’ll know you’ve achieved correct alignment when the trigger moves smoothly without catching. If you encounter resistance, stop immediately and recheck your spring positioning. Remember to verify that both spring ends maintain equal tension throughout the installation process.
Testing Spring Function
Testing the trigger spring’s function is essential before proceeding with final assembly of your Glock. After installing the spring assembly, you’ll need to perform several function checks to ensure proper operation. Rack the slide and release the trigger multiple times while observing the spring’s response.
Ensure the trigger moves smoothly forward after each pull without sticking. Verify the spring provides consistent resistance throughout trigger travel. Check that the trigger bar properly engages with the connector. Confirm the trigger reset is crisp and positive when you release the trigger. Listen for any unusual sounds that might indicate incorrect spring installation.
If you notice any issues during testing, disassemble and recheck your spring installation. Proper spring function is critical for safe and reliable firearm operation, so take your time with these verification steps.
Proper Reassembly Procedures
Once you’ve completed the spring replacement, reassembling your Glock trigger mechanism requires methodical attention to detail and verification of component alignment. Position the housing and trigger assembly at the correct angle before sliding them back into the frame. Ensure the spring coils aren’t twisted or pinched during this process.
Double-check that the connector bar properly engages with the trigger bar and that all components move freely without binding. You’ll need to verify that the trigger safety plunger is correctly seated and functioning. Listen for the distinct click that indicates proper engagement of the trigger bar with the firing pin lug.
Before proceeding with final reassembly, test the trigger’s movement while maintaining proper safety protocols. The mechanism should operate smoothly without any catches or resistance.
Function Testing and Verification
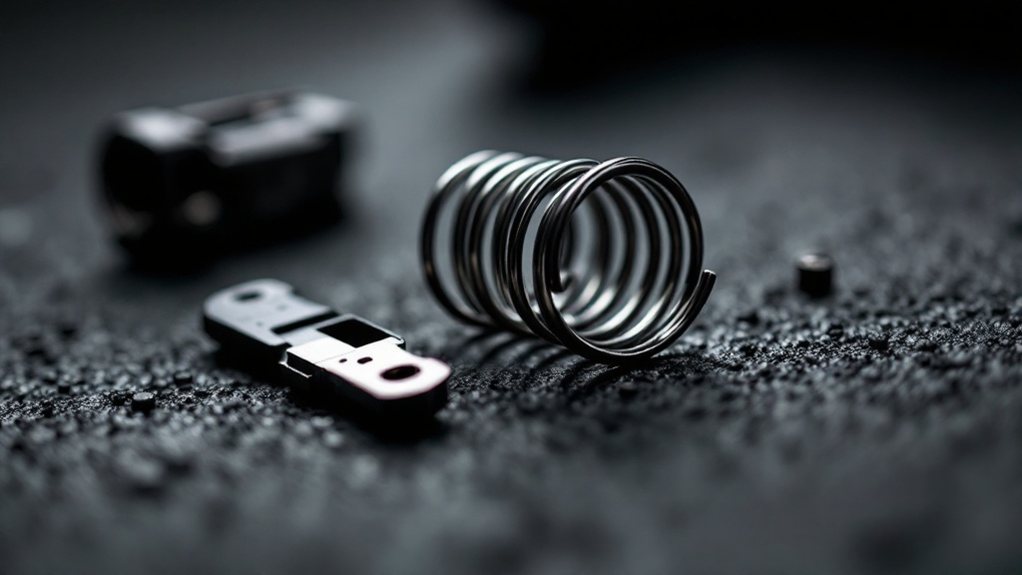
Several critical safety checks must be performed to verify your Glock’s function after replacing the trigger spring assembly. For Glock pistols receiving a trigger upgrade, you’ll need to thoroughly test the new components to ensure safe, reliable operation.
Begin with multiple dry-fire cycles to evaluate the trigger’s performance, paying close attention to the wall, break, and reset characteristics.
- Perform dry-fire testing with an empty magazine inserted and verify proper trigger reset
- Measure trigger pull weight using a gauge to confirm it meets self-defense specifications
- Check for smooth, consistent trigger movement throughout the entire pull
- Conduct live-fire testing at a range to verify reliable function
- Monitor ongoing performance and document any changes in trigger feel or operation
Frequently Asked Questions
What Is the Lifespan of the Glock Trigger Spring?
Your Glock’s trigger spring lifespan typically ranges from 10,000 to 15,000 rounds, but you’ll want to monitor it closely if you’re doing frequent dry-fire practice or high-volume shooting.
For optimal performance and reliability, you should plan your spring replacement frequency around every 5,000 to 10,000 rounds. Don’t wait until you notice issues – regular maintenance of your trigger spring will ensure consistent trigger pull and reliable operation.
How Many Rounds Before Replacing Glock Recoil Spring?
Want to keep your Glock running reliably? Your average recoil spring life is typically 3,000-5,000 rounds, as recommended by Glock. You’ll want to follow this proper spring replacement interval to maintain optimal performance.
However, if you’re shooting +P ammunition or in harsh conditions, you might need to replace it sooner. Watch for signs like failure to cycle or stove-piping malfunctions. Don’t wait until problems arise – proactive maintenance ensures your firearm’s reliability and safety.
Why Is the Glock 19 Illegal?
The Glock 19 isn’t illegal – this is a common misconception. You’ll find it’s actually one of the most popular legal handguns in the United States.
While state by state regulations may impose certain restrictions on magazine capacity or specific features, the Glock 19 itself is generally legal to own where handguns are permitted. You’ll need to check your local laws, but in most jurisdictions, you can legally purchase and own a Glock 19 with proper licensing.
Is It Easy to Replace a Glock Trigger?
While replacing a Glock trigger is technically doable, you’ll need proper tools and knowledge of the trigger safety mechanism to do it correctly. The trigger reset process requires careful attention to detail and basic mechanical skills.
If you’re not confident in your abilities, it’s best to have a qualified gunsmith perform the installation. They’ll ensure everything is properly installed and functioning safely according to manufacturer specifications.
Conclusion
Following these steps meticulously will make you a Glock trigger spring assembly replacement expert. You’ve now mastered a skill that even some gunsmiths find challenging. Remember to triple-check your safety functions – your life could depend on it. Store your tools properly and maintain a detailed record of the replacement for future reference. Don’t hesitate to seek professional help if you’re ever unsure about any step.


0 Comments